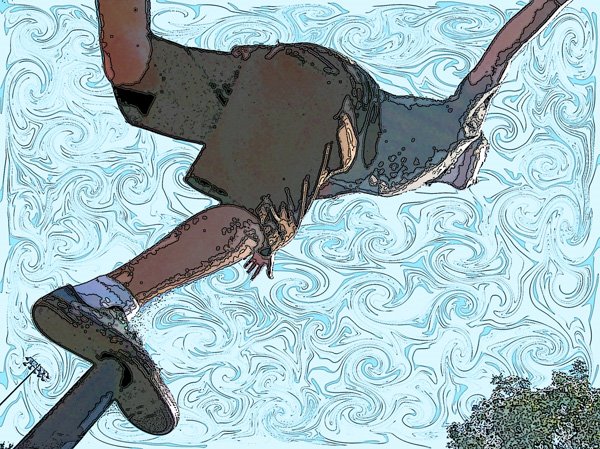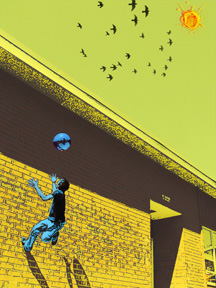

This is similar to what Andy Warhol created with his multiples silkscreens, so you can use him as an exemplar if you want, and add steps of painted lines as well. I guess you could also use Shepard Fairey for a more contemporary exemplar and instead of multiples, add some words. This would be a good time to explain the process of silk screening so they understand how the originals were made.
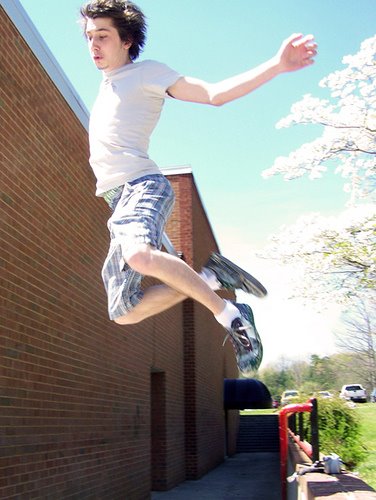
1. Students take photos of friends, of if you use images off of google, choose "large" under options. It should be at least 200K.
2. Open image in Photoshop. Image>Adjustments>Threshhold. (Move the slider to get the right amount of detail. You might need to choose a different image if you can't get good detail.)
3. Select>Color Range. Use the eyedropper on the image to select black (not on the thumbnail showing). You should see the "marching ants" around the black areas.
4. Choose a foreground color. Edit>Fill>Foreground color
5. Select>Inverse
6. Choose second color (complementary or near complementary). Edit>Fill>Foreground color
7. Tweak your colors using the Select tools learned. Select>Deselect. File>Save As
8. To make multiple variants, just use Image>Adjustments>Hue/Saturation and save each as new name.
9. Arrange them on new document that is a size you can print. But first check the resolution of the original image (Image>Image size) and make your new document the same resolution. Open, Select>All, Copy and Paste Use Edit>Transform>Scale to resize each layer. Crop. Students can continue to adjust colors even at this stage.
I have additional Photoshop lessons for high school students on my Teachers Pay Teachers site.


