

This is one of the easiest projects to do. I throw it in between a couple very difficult projects to give my students a breather. There always a few that say, "Of all the projects we've done this one is my favorite!" And then I think something like, "But, I put a lot more work into some of the other projects." You could also do it near the beginning of the year, but you might be glad to have something easy and fun to do in the middle of the winter blahs.
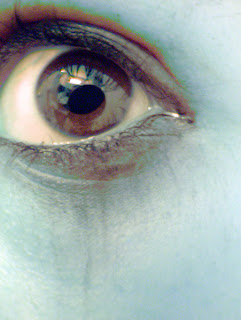
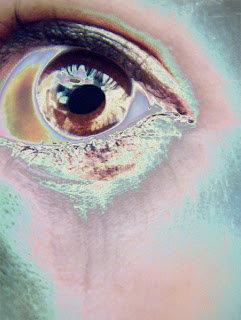
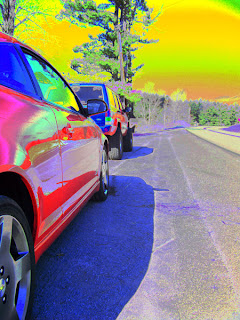
These examples were done by two of my students. I included two versions of the eye so you can see the differences determined by what blending mode you choose. The top eye photo started with normal, natural colors, but this process shifted the colors and added interesting textures in the shadow areas.
Its so easy I can tell you how to do it right here:
1. Choose a well-composed color digital photo and open it in Photoshop.
2. Copy the layer and name the top layer "Solarize" (On the Layers palette, drag your layer over the little icon to the left of the little trash can.)
3. Filter>Stylize>Solarize (make sure the fill and opacity are at 100%)
4. Image>Adjustments>Hue/Saturation and play with the sliders to get interesting effects.
5. Now play with the Blending Mode choices (on the Layers palette) to blend the two layers together in interesting ways. It's ok if you think "normal" is actually the best one.
Have your students do it to two different photos so that they remember the steps.
If you were not at my workshop and would like the handout with all the visuals (example and screenshots), email me.


1 comment:
Hi Anne... thank you so much for this blog... i was in your workshop at VAEA in Nov... and have come to this site for additional inspiration when it comes to incorporating Photoshop into my middle school curriculum. I love sharing with my kids your site schowcasing what your students are accomplishing! THANK YOU!!!!
Post a Comment